 Spiral Bound: Undated Holiday Planner
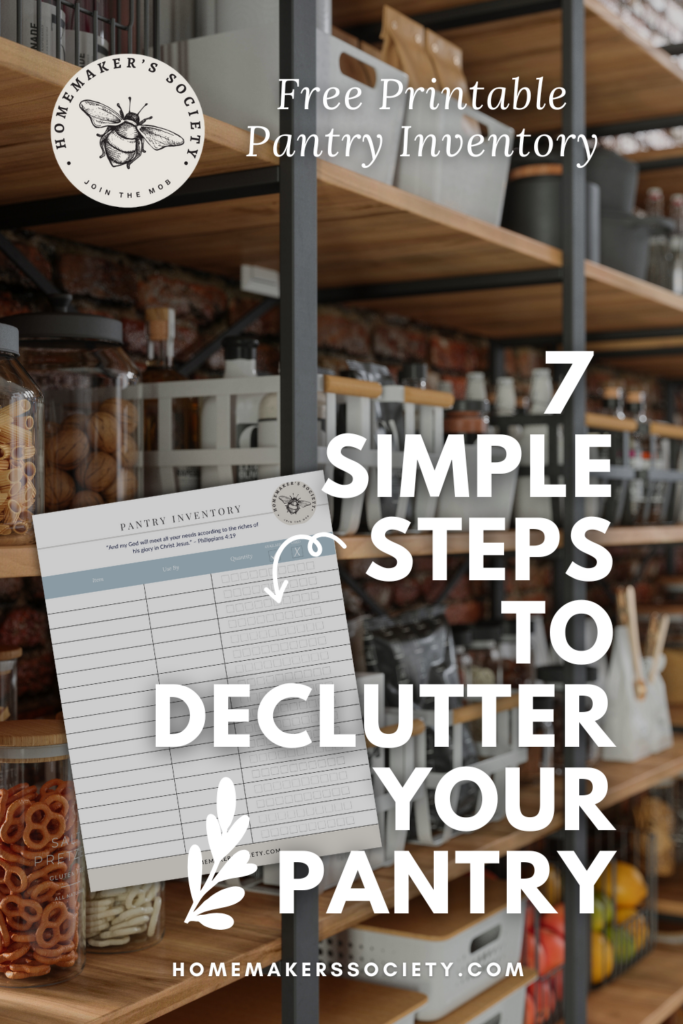
7 Simple Steps to Declutter Your Pantry + Printable
There’s nothing quite like opening a clean, organized pantry—it makes cooking so much easier and, honestly, just feels good. Here’s how I recommend you tackle this project, step by step.
An organized pantry can make all the difference in the kitchen. When everything has a place, meal prep becomes easier, grocery shopping is more efficient, and you waste less food. If your pantry feels like it’s bursting at the seams or you’re constantly struggling to find what you need, it’s time for a reset.
Be sure to download my free printable Pantry Inventory Tracker at the bottom of this post!
In our house, I don’t actually have a regular pantry. Well, I used to. Before we renovated our kitchen in 2018, our butler’s pantry had space to store food. But because we keep a good amount of food reserves at all times, I’ve always housed my pantry downstairs in the basement furnace room. It’s not pretty, but it is functional! The only food I keep in my kitchen is all of our fresh produce, anything already open – like condiments, chips, and honey, as well as my baking supplies – flour, sugar, spices, etc.
This works well for our large family, but it does mean I’m running up and down the stairs often. I always say all the stairs in our house keep me fit!
But, regardless of where you store your food, your pantry is a place that gets a lot of wear and tear and it needs to be cleaned and decluttered from time to time. Let’s walk through simple steps to declutter and create a pantry that works for you and your family.
7 Simple Steps to Declutter Your Pantry
A cluttered pantry can quickly become overwhelming, making meal prep stressful and grocery shopping inefficient. But with a little effort and some simple steps, you can declutter your pantry, reclaim your space, and create a system that works for your family. Plus, keeping a neat pantry means you’ll save more money on groceries! Here’s how to get started:
Note: You may want to set aside an hour or so to clean our your pantry so that you can finish all in one go. Or you may just want to focus on one section or shelf at a time.
Step 1: Empty Everything Out
The first step to decluttering your pantry is to take everything out. Yes, every single item! I know this may feel like a huge chore, but you’ll see in the end that the effort will be worth it! Taking everything out helps you see exactly what you have and creates a blank slate for reorganizing. I like to use my kitchen table or countertops to sort items as they get removed.
Step 2: Check Expiration Dates
Go through each item and check for expiration dates. Toss anything that’s expired or stale. This is also a great time to assess items that are still good but rarely used. I’ll be honest and say that I don’t believe you need to always throw out expired food – but use your best judgement. I hate throwing out food so if I think it’s still good, I’ll keep it.
What to Toss:
- Expired canned goods and spices that are definitely passed their prime.
- Opened bags of snacks or grains that are no longer fresh. (You can freshen stale crackers in the oven though.)
- Food items you know your family won’t eat. Sometimes a food just misses the mark.
Step 3: Group Similar Items Together
Once you’ve sorted through everything, group your items by category. This makes it easier to find what you need and helps you spot duplicates.
Suggested Categories:
- Baking supplies (flour, sugar, baking soda)
- Canned goods – stack like cans together
- Snacks
- Grains and pasta
- Spices and seasonings
- Breakfast items (cereal, oatmeal)
Step 4: Clean the Pantry Shelves
Before putting anything back, wipe down your pantry shelves or drawers with a damp cloth and cleaning solution. If needed, add shelf liners to make cleaning easier in the future.
Step 5: Organize and Store
Now it’s time to put everything back in an organized way. Use these tips to make your pantry functional and visually appealing:
- Use Bins or Baskets: Group similar items together in bins or baskets for easy access.
- Label Containers: Use labels for clear identification, especially for bulk items like flour, rice, or snacks.
- Maximize Vertical Space: Use shelf risers or stackable bins to create more storage room.
- Store Frequently Used Items at Eye Level: Keep essentials where they’re easy to grab.
I want you to know that your pantry doesn’t have to look fancy. You don’t have to decant all your dry goods into perfectly curated containers. You don’t even have to have matching containers. If you want that and can afford that, awesome. But the goal isn’t to have a perfectly curated home. The goal is to have a home that serves your family well.
Step 6: Donate Unused Items
If you come across food that’s still good but your family won’t eat, consider donating it to a local food bank or community pantry. This not only clears space but also helps those in need.
Step 7: Maintain Your Pantry
The key to keeping your pantry organized is regular maintenance. Build small habits into your routine to keep clutter at bay:
- Weekly Check: Quickly scan for expired items or misplaced groceries.
- Monthly Reset: Wipe down shelves and reorganize if needed.
- Buy Smart: Plan meals around what you already have to avoid overstocking.
Decluttering your pantry doesn’t have to be overwhelming. By breaking it into simple steps, you can create a clean, organized space that makes meal prep easier and more enjoyable. A tidy pantry not only saves time but also reduces food waste and helps you stay on top of what you need.
What’s the first step you’ll take to declutter your pantry? Share your progress in the comments or let us know your favorite pantry organization tips!
Let’s turn your pantry into a space you love to use—starting today!
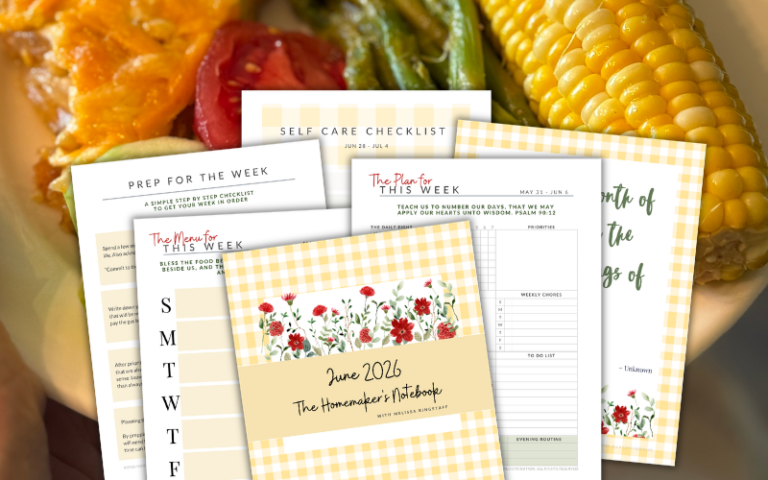
Join the Kitchen Reset Challenge
Invitation to Join the Homemaker’s Society and Kitchen Reset Challenge
Does the thought of a clutter-free, organized kitchen sound like a dream come true? It doesn’t have to be! As a member of the Homemaker’s Society, you’ll gain instant access to the Kitchen Reset Challenge, where we take simple, actionable steps every day to transform your kitchen into a space that works for you. Not only that, but you’ll get instant access to hundreds of digital resources, all of my homemaking courses, and so much more!
From decluttering your pantry to setting up functional kitchen zones, this challenge is designed to help you create a home you love—without feeling overwhelmed. Plus, you’ll join a community of like-minded homemakers inside our private Facebook group, ready to cheer you on every step of the way!
👉 Become a member today and start your Kitchen Reset Challenge!
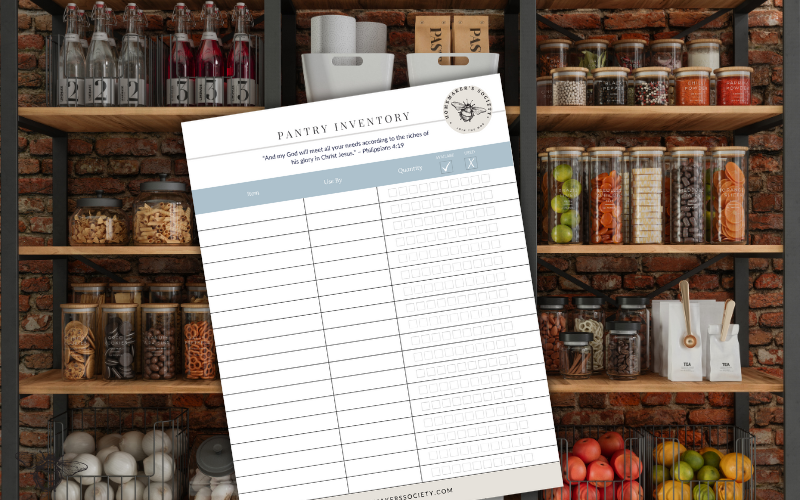
Free Printable Pantry Inventory Tracker
Keep track of everything in your pantry with this free Pantry Inventory Worksheet! This beautifully designed printable helps you monitor item quantities, expiration dates, and usage, so you can stay organized and reduce food waste.
How to Download
- If you’re a member of The Homemaker’s Society, you’ll find your link to download the Pantry Inventory Tracker below.
- Become a member of The Homemaker’s Society. and you’ll get instant access to set of Pantry Inventory Tracker and hundreds of other helpful resources for your home as part of your membership.
- FREE for non-members too! If you aren’t ready to become a member yet, just fill out the form below and you’ll get the Pantry Inventory Tracker sent straight to your inbox!
- OR, you can purchase the printable Pantry Tracker here!
Members Only Download here
Just click on the link below to download your Instant Kitchen Refresh Cheat Sheet. Don’t forget that you can find this and hundreds of printables in the Resource Libraries!
Originally published January 8, 2025. Updated January 2026.