How to Make Homemade Baby Food – It’s Easy!

A baby in a highchair, a small spoon, a little jar with a cartoon vegetable on the label. It’s the picture parenting magazines love to sell you — and it’s also a picture that’s cost families a lot of money over the years, for something that doesn’t actually need to be complicated.
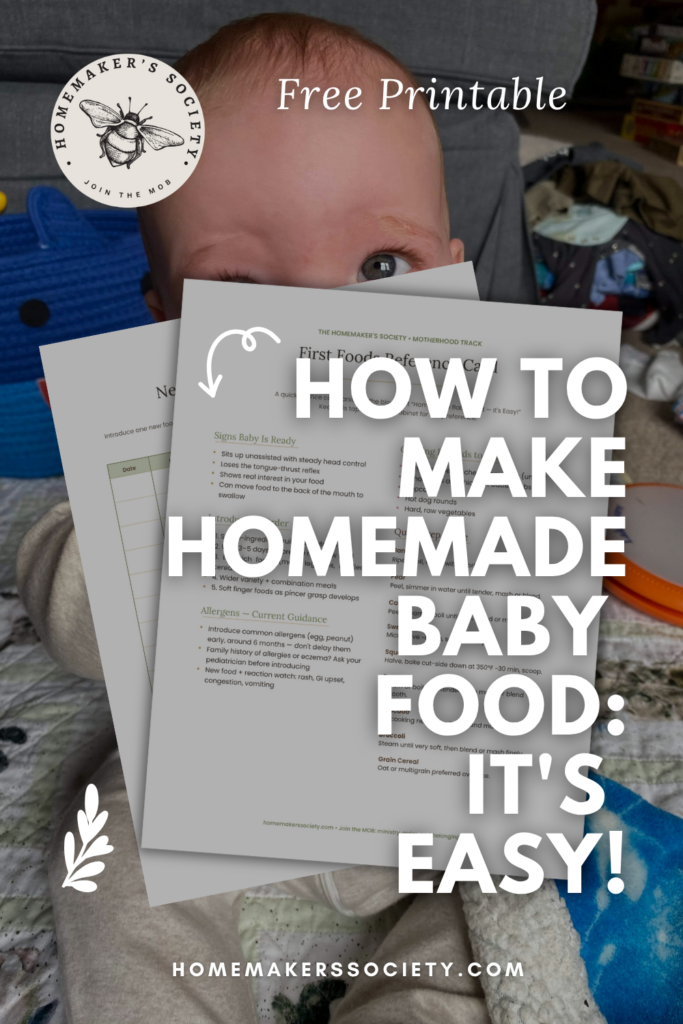
Be sure to download my free printable Baby Food Introduction Guide and Tracker at the bottom of the post!
Originally published October 18, 2007. Updated August 2026.
I’ve fed five babies homemade baby food, and I promise you, it doesn’t require special equipment, a culinary degree, or hours in the kitchen. Most days, baby ate some version of whatever the rest of us were eating, mashed up or run through the blender.
Let’s start with why homemade is worth it, and then I’ll walk you through exactly how to do it — including a few things pediatric guidance has changed on since I first wrote this post.
Why Homemade Baby Food Is Worth It
Convenience. This is the part that surprises people. You don’t need to prepare a separate meal for baby most nights. Once baby is ready for table foods, they can often eat a soft, mashed version of whatever’s already on your stove.
Nutrition. Fortified and processed baby food isn’t automatically better than fresh, whole food. Homemade purees made from real produce give your baby real nutrition, and they build a taste for simple, unprocessed food early — a habit worth having for life.
Cost. Store-bought baby food often runs forty to seventy cents for two ounces. That same money buys a good deal more produce at the store, and buying in bulk stretches it even further.
Getting Started: Is Baby Ready?
Most medical guidance points to around six months as the right time to start solids — not because there’s a magic switch that flips, but because that’s usually when a baby shows real signs of readiness. Look for:
- Sitting up unassisted, with good head and neck control.
- Loss of the tongue-thrust reflex — the reflex that pushes solid objects back out of the mouth.
- Genuine interest in food — leaning in, reaching for what’s on your plate.
- The ability to move food to the back of the mouth to swallow, rather than only sucking.
What’s Changed Since I First Wrote This
I want to be upfront about something. When I originally wrote this post, common advice was to delay allergenic foods like eggs, peanuts, and dairy for as long as possible. That guidance has actually now reversed.
Following major research — including the LEAP study — the American Academy of Pediatrics now recommends introducing common allergens early, generally between four and six months, rather than avoiding them. Waiting longer doesn’t protect your baby from allergies; in most cases, early and regular exposure is what actually lowers the risk.
If you have a family history of food allergies or your baby has severe eczema, talk to your pediatrician about the best way to introduce these foods, since they may want to guide that process directly.
I also want to flag two more updates:
- Iron matters more than this post used to say. Breastfed babies especially need iron-rich foods introduced around six months, since a baby’s own iron stores start to drop right around that age. Pureed meats, iron-fortified infant cereal, and legumes are all good early sources.
- Rice cereal isn’t the automatic first food it once was. Because of concerns about arsenic levels in rice, many pediatricians now recommend oat or multigrain cereal instead, or skipping infant cereal altogether in favor of whole-food purees.
Related: Picky Eaters
A Word on Choking Safety
This is worth its own section, because it’s easy to overlook when you’re focused on nutrition. As baby moves toward finger foods, avoid whole grapes, whole nuts, popcorn, hot dog rounds, hard raw vegetables, and thick globs of nut butter — all common choking hazards. Cut round foods lengthwise, cook vegetables until they’re genuinely soft, and stay within arm’s reach during meals, especially in the early months of self-feeding.
This grape cutter is a great tool and speeds up the process of cutting foods that pose a choking hazard.
Tools You Actually Need
Nothing fancy is required. A blender or food processor handles almost everything. A steamer basket softens vegetables well and costs only a few dollars. Ice cube trays are perfect for freezing small portions ahead of time. Some of the easiest first foods need nothing more than a fork and a small pot.
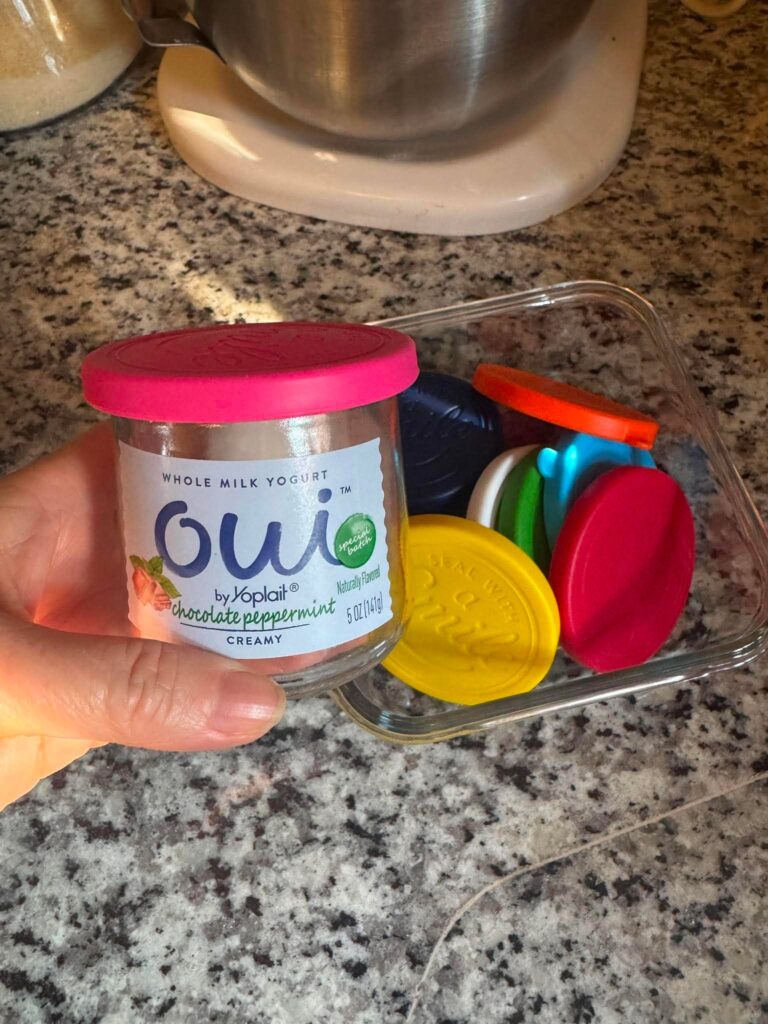
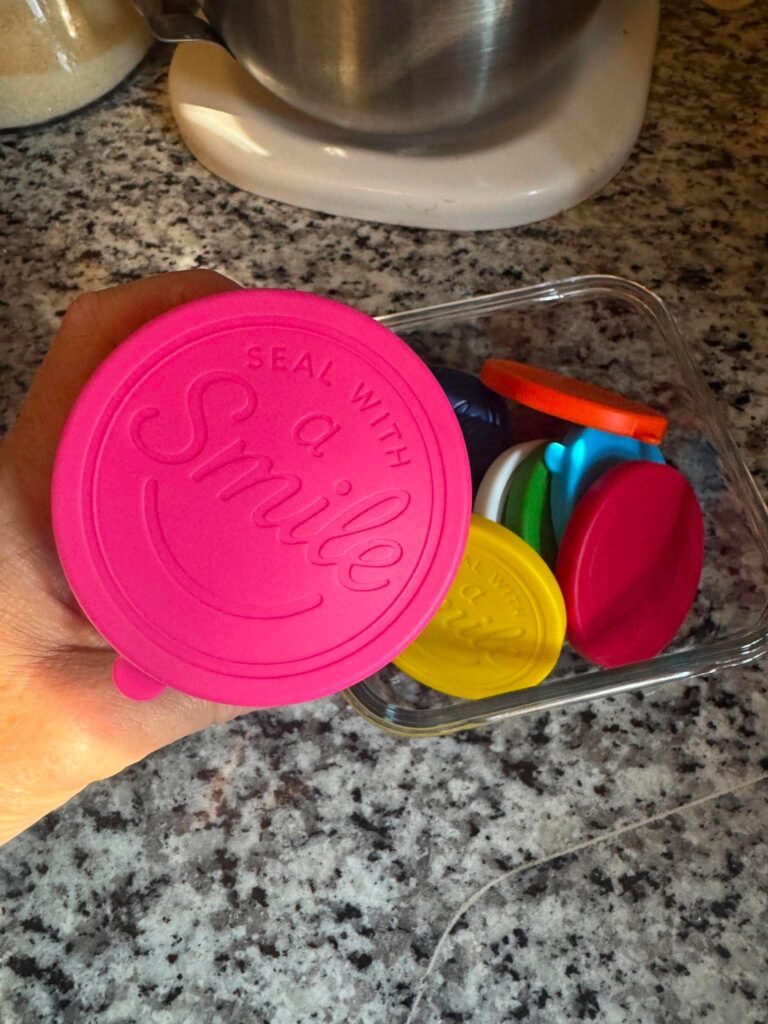
If you eat the Oui yogurts, the glass jars can be reused for baby food. These silicone lids fit perfectly and keep baby food fresh!
How to Prepare Common First Foods
Bananas are about as easy as it gets. Let one ripen well — the more brown spots, the better — then mash with a fork.
Pears cook much like apples. Peel, core, and cut into chunks, then simmer in a small amount of water until tender. Mash with a fork, or run through a blender for a smoother texture.
Carrots should be peeled, sliced, and steamed or boiled until soft, then blended or mashed. Carrots are a common choking hazard as a finger food, so serve them well-cooked and cut small. You can also thin them with a little water or milk.
Sweet potatoes are almost effortless. Microwave a whole potato for about eight minutes, let it cool, then scoop the soft flesh straight out of the peel. No further processing needed.
Winter squash, like acorn or butternut, bakes well. Cut in half, clean out the seeds, place cut-side down in a half inch of water, and bake at 350°F for about thirty minutes. Scoop and serve.
Avocado needs no cooking at all. Cut around the pit, twist to separate, then scoop and mash. It’s one of the most nutrient-dense first foods you can offer.
A Simple Order to Introduce Foods
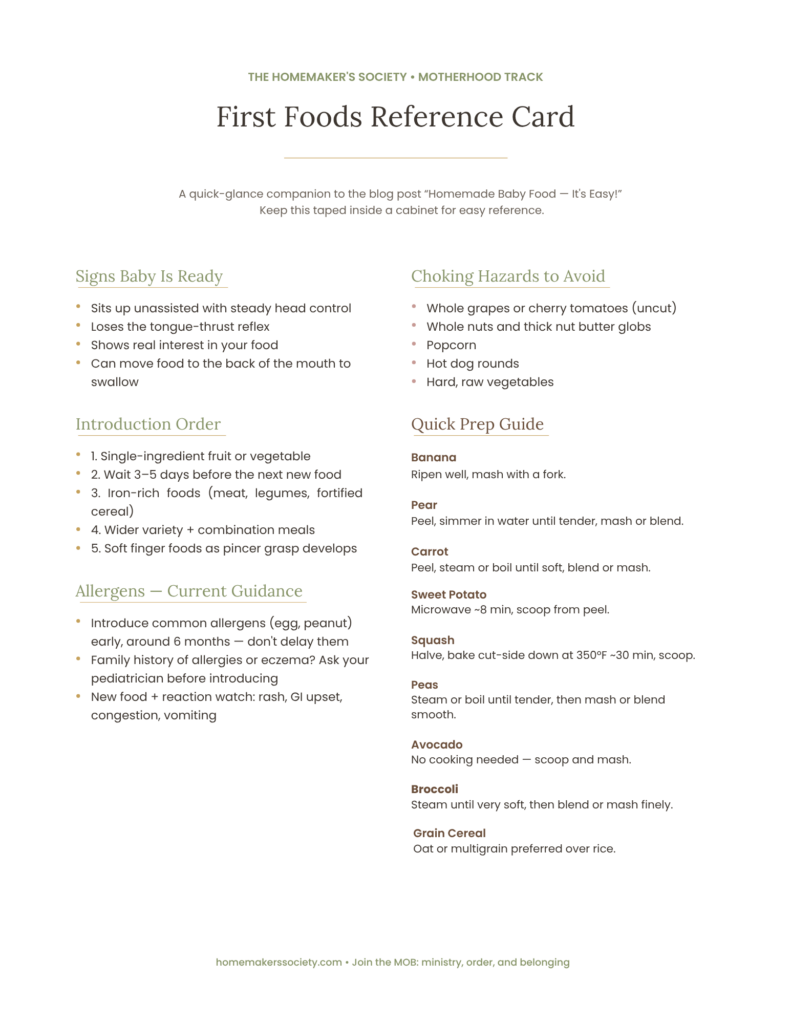
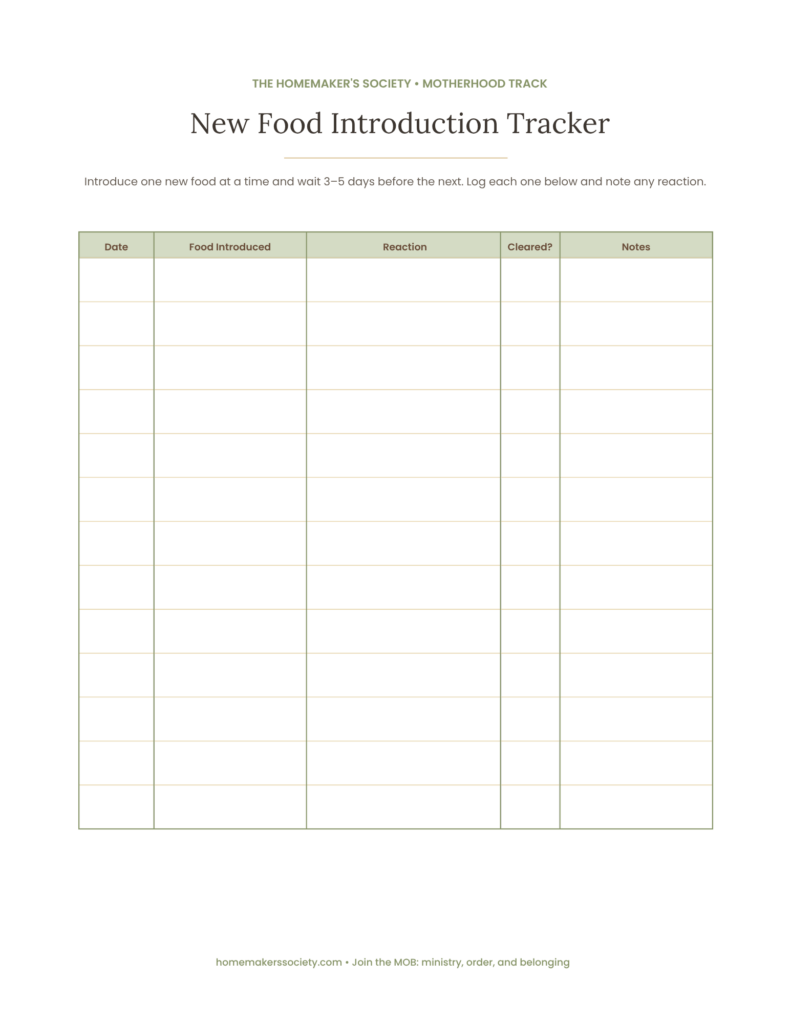
There’s no single required order, but a reasonable sequence looks like this: start with a single-ingredient fruit or vegetable, wait three to five days before introducing the next new food so you can watch for any reaction, then gradually build toward a wider variety, meats or other proteins, and combination meals. As baby’s pincer grasp develops, start layering in soft finger foods alongside the purees.
I personally prefered to feed my babies bitter vegetables first, like mashed green beans, peas, and broccoli, and waited to feed them sweet fruits and veggies until they were eating those well. I believe this helped them be less picky overall.
Watching for a Reaction
When you introduce something new, keep an eye out for:
- Unusual bloating, gassiness, or visible discomfort.
- A raised, rough rash, especially where the food touched the baby’s skin.
- Persistent runny nose or watery eyes shortly after eating.
- Diarrhea, mucus, or blood in the stool.
- Vomiting or unusually forceful spit-up paired with distress.
If you see any of these, stop the food and check with your pediatrician before trying it again.
Making your own baby food isn’t about being a perfect homemaker with a spotless kitchen and a baby who eats on cue. It’s about giving your little one good, real food, and enjoying a stage of motherhood that goes by faster than any of us are ready for.
Action Steps to Take Today
- Pick one first food from this list and prepare a single portion to freeze in an ice cube tray.
- If your baby is near six months and you’ve been holding off on allergens, talk to your pediatrician about introducing them early rather than later.
- Do a quick pass through your kitchen and pantry for common choking hazards if baby is close to starting finger foods.
- Write down the date you introduce each new food, so you can track reactions easily.
What was your baby’s very first food?
Join Today!
The Homemaker’s Society is a community for women who want to manage their homes well and serve their families. You can register to become a member or log in to view our members-only pages.
The MOB Mindset — embracing the principles of ministry, order, and belonging in everyday home life. Create a life you love coming home to with The Homemaker’s Society.
Free Printable Baby Food Introduction Guide and Tracker
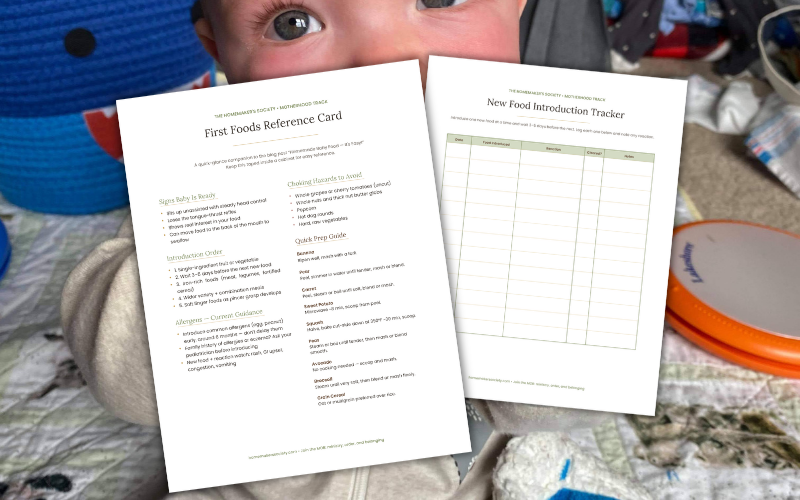
A quick-reference card for introducing your baby’s first foods, plus a simple tracker to log what you’ve tried, when, and how baby handled it. Everything you need in one place — no flipping back through old notes to remember if you’ve already tried peas.
How to Download
Fill out the form below, and you’ll be sent the First Foods Reference Guide and Tracker sent straight to your inbox.
If you’re not a member yet, you can join The Homemaker’s Society and get instant access to this printable plus hundreds of other resources for your home.
Not ready to join yet? Just fill out the form below, and the notebook will be sent straight to your inbox. Or, if you prefer, you can purchase the printable notebook here.