Canning for Beginners: A Simple Guide to Getting Started + Free Printable

There’s a shelf in my pantry that makes me stop every single time I walk past it. Rows of jars, little jewel-toned jars of summer all lined up just waiting to be cracked open come winter (if we can wait that long). Today I’m covering all the basics of canning so you can get started. I want you to know that canning for beginners isn’t as hard as you might imagine!
If you’ve ever looked at a stranger’s pantry photo online and thought, I want that, but I have no idea where to start — this one’s for you.
Beginner canning feels intimidating right up until you do it once. It’s really so much easier than you probably imagine! I taught my daughters how to can a few years ago and they now love making their own canned goods too.
There have been years where I put up hundreds of jars, but the last few years I’ve done a few dozen each year. But not matter how many jars I put away, I always feel a great sense of satisfaction and truly there’s nothing like cracking open a jar of homemade jam, homemade pickles, or homemade tomatoes.
Why Canning Still Matters
Canning isn’t about being a homesteader or living off-grid. It’s about taking what’s abundant right now — a bushel of tomatoes, a bag of peaches your neighbor pushed into your hands — and stretching it into a gift for your future self.
“There is a time for everything, and a season for every activity under the heavens… a time to plant and a time to uproot” (Ecclesiastes 3:1-2). Canning is just that verse, lived out in a kitchen. You’re taking a season and tucking it away for a different one.
Where to Get Your Produce
You don’t need a homestead to fill a pantry shelf. Most of us are cobbling produce together from a few different places, and that’s not a lesser way to do it — it’s just the modern way.
Your own garden is the most rewarding source, hands down. Even a few tomato plants or a row of cucumbers can give you enough for a small batch, and there’s something about eating (and canning) what you planted with your own hands that makes the whole process feel sacred. Start small if you’re new to growing — a couple of productive plants beat a big garden you can’t keep up with.
U-pick farms are the sweet spot for most families. You get the experience of harvesting — kids included, if you’ve got them — without needing your own acreage. Peaches, berries, and apples are usually the easiest u-pick finds, and farms often sell “seconds” or slightly bruised fruit at a discount, which is perfect for canning since it’s getting cooked down anyway. Call ahead and ask what’s ripe; picking windows can be short.
Farmer’s markets are your best bet when you need a specific amount on a specific weekend, or when you don’t have the time for a whole picking outing. Go early for the best selection, and don’t be shy about asking growers what’s at peak ripeness that week — they’ll usually steer you toward whatever’s about to turn, which often comes with a better price for bulk buying. Building a relationship with one or two regular vendors goes a long way; ask if they’ll set aside a bushel for you next time.
However you source it, the same rule applies: can produce at its peak, not on its way out. Slightly underripe is safer than overripe when it comes to both flavor and food safety.
A Few Words Before You Start (Canning Glossary)
A handful of terms show up over and over in canning recipes, and knowing them ahead of time makes everything else in this guide click faster.
- Headspace — the empty gap between the top of the food and the rim of the jar. Too little and food can bubble out and ruin the seal; too much and the jar may not process safely.
- Hot pack — food that’s cooked or heated before it goes into the jar.
- Raw pack — food that goes into the jar uncooked, then gets processed. Raw pack usually needs a longer processing time than hot pack.
- Fingertip tight — how snug to twist the band: firm enough to hold the lid in place, loose enough that air can still escape the jar during processing. Cranking it down hard can actually cause a poor seal.
- Processing time — how long the filled, sealed jar sits in boiling water or under pressure. This is not the same as cooking time, and it’s not negotiable.
- PSI — pounds per square inch, the unit used for pressure canner settings.
- Altitude adjustment — extra processing time or pressure required above 1,000 feet, because water boils at a lower temperature the higher up you are.
The Two Kinds of Canning (And Why It Matters Which One You Use)
Before you buy a single jar, you need to know this: not everything can be canned the same way.
Water bath canning works for high-acid foods — think fruit, jams, pickles, salsa, and most tomatoes (with a little added acid). The boiling water reaches a high enough temperature to keep these foods safe.
Pressure canning is required for low-acid foods — vegetables, meats, beans, soups. These need higher heat than boiling water can reach, or you risk botulism. This isn’t a “maybe, if you’re extra careful” situation. It’s the rule.
If you’re just starting out, water bath canning is the gentler on-ramp. Save pressure canning for once you’ve got a few batches under your belt.
Which Foods Go With Which Method (And the Reason Behind the Rule)
This is the part I wish someone had sat me down and explained clearly when I started, instead of me piecing it together recipe by recipe. It comes down to one thing: acidity.
Botulism spores — the thing all this fuss is really about — can’t grow in a high-acid environment. Water at a rolling boil (212°F) is hot enough to destroy the yeasts, molds, and bacteria that spoil high-acid food. But it is not hot enough to destroy botulism spores. Low-acid food needs the higher temperature only a pressure canner can reach (240°F+) to be safe.
So the question is never “which method sounds easier” — it’s “what is this food’s acidity.”
Foods safe for the water bath canner (high acid, pH 4.6 or below):
- Fruit — peaches, pears, apples, berries, plums
- Jams, jellies, preserves, and fruit butters
- Pickles and relishes (the vinegar does the acidifying)
- Salsa (made with a tested, vinegar- or lemon-juice-balanced recipe)
- Tomatoes — with bottled lemon juice or citric acid added, because modern tomato varieties are often not acidic enough on their own anymore
Foods that require a pressure canner (low acid, pH above 4.6):
- Vegetables — green beans, corn, carrots, potatoes, beets, peas, squash
- Meats, poultry, and seafood
- Soups, stews, and any combination food that includes meat or low-acid vegetables
- Dried beans and legumes
A simple gut-check: if it grew in the ground or came from an animal and you didn’t add significant acid or sugar to it, assume it needs a pressure canner until a tested recipe tells you otherwise.
One more nuance worth knowing: tomatoes sit right on the edge, which is why every tested tomato recipe tells you to add lemon juice or citric acid, even though your grandmother’s recipe might not have. It’s not that the old recipes were careless — tomato varieties bred for flavor and yield over the last several decades tend to run less acidic than the tomatoes of decades past, so the guidelines shifted to keep up.
If you want the full, research-tested rules behind all of this, the National Center for Home Food Preservation hosts the USDA’s Complete Guide to Home Canning online, free, chapter by chapter. Ball’s own canning guides are another trusted, easy-to-follow source, especially if you like having step-by-step photos alongside the instructions.
Recommended Processing Times (Quick Reference)
Here’s a starting-point chart for some of the most common foods home canners put up. These times are for 0-1,000 ft elevation — if you’re above that, you’ll need to add time (the NCHFP link above has the exact adjustments for your elevation). Quart jars generally need more time than pints, and raw-packed food generally needs more time than hot-packed. Always double check the exact time for your specific recipe and pack style before you process — this chart is a starting point, not a substitute for the full recipe.
| Food | Method | Jar Size | Time at 0-1,000 ft |
|---|---|---|---|
| Jams & jellies | Water bath | Half-pints/Pints | 5–10 min (varies by recipe) |
| Pickles (fresh-pack, e.g. dill) | Water bath | Pints | 10–15 min (varies by recipe) |
| Applesauce (hot pack) | Water bath | Pints / Quarts | 15 min / 20 min |
| Peaches (hot pack) | Water bath | Pints / Quarts | 20 min / 25 min |
| Pears (hot pack) | Water bath | Pints / Quarts | 20 min / 25 min |
| Salsa | Water bath | Pints | 15–20 min (varies by recipe) |
| Tomatoes, whole/halved (in juice) | Water bath | Pints or Quarts | 85 min |
| Green beans | Pressure (10 lb weighted / 11 lb dial) | Pints / Quarts | 20 min / 25 min |
| Carrots | Pressure (10 lb weighted / 11 lb dial) | Pints / Quarts | 25 min / 30 min |
| Beets | Pressure (10 lb weighted / 11 lb dial) | Pints / Quarts | 30 min / 35 min |
| White potatoes (cubed) | Pressure (10 lb weighted / 11 lb dial) | Pints / Quarts | 35 min / 40 min |
| Green peas | Pressure (10 lb weighted / 11 lb dial) | Pints / Quarts | 40 min / 40 min |
| Whole kernel corn | Pressure (10 lb weighted / 11 lb dial) | Pints / Quarts | 55 min / 85 min |
| Dried beans & peas | Pressure (10 lb weighted / 11 lb dial) | Pints / Quarts | 75 min / 90 min |
A couple of things worth remembering as you use a chart like this: low-acid vegetables like green beans and corn cannot be safely water bath canned — pressure canning is the only safe method, no matter how long you boil them. And any time you’re working from a recipe you didn’t get from NCHFP or Ball, it’s worth cross-checking the processing time against one of those sources before you commit your ingredients to the jar.
What You Actually Need to Start
You don’t need a full canning kitchen to begin. Here’s the short list:
#1 A large stockpot with a rack in the bottom (a folded dish towel works in a pinch)
#2 Mason jars — with new lids each time, but the jars and bands can be reused
#3 A jar lifter — trust me, you don’t want to be fishing boiling jars out with kitchen tongs
#4 A canning funnel to keep your rims clean, which matters more than it sounds like it would
#5 A clean kitchen towel and a little patience
That’s genuinely it. Everything else is nice-to-have, not need-to-have.
Where to find your first recipe: Don’t start from a Pinterest photo or a recipe with no source listed. The NCHFP recipe index and Ball’s recipe library are both free, tested, and organized by food type — a strawberry jam or a fresh-pack dill pickle from either site is a genuinely easy, low-risk place to start.
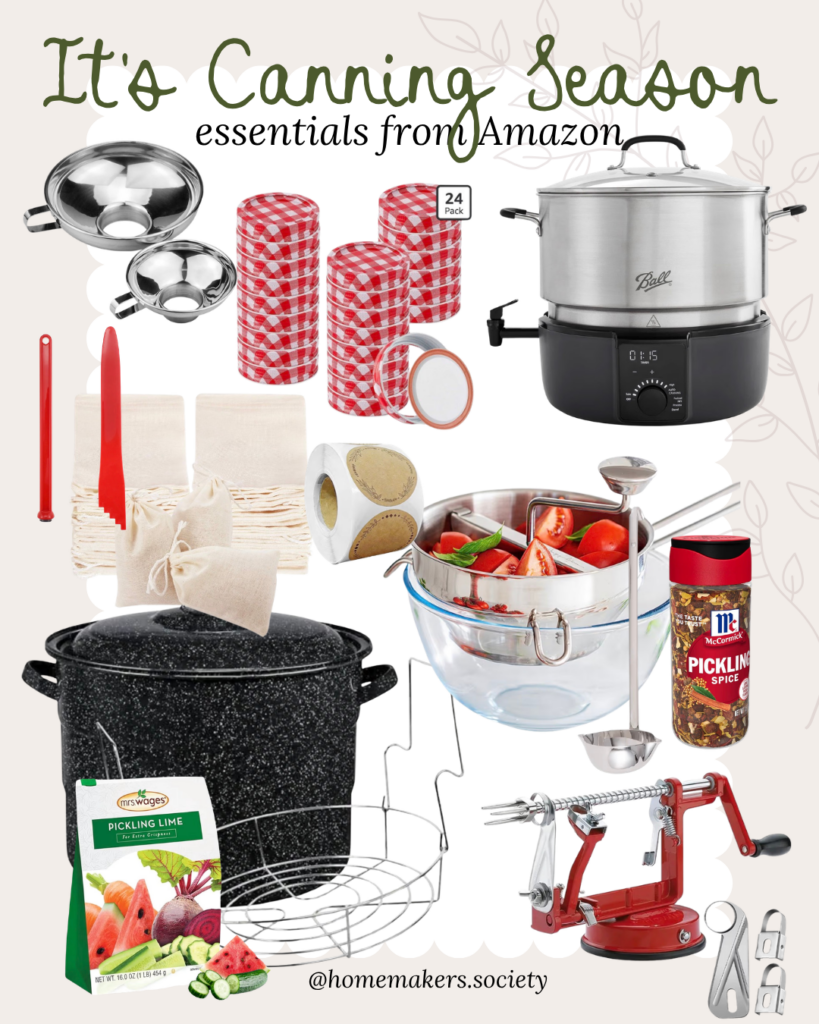
- Click here to see my canning essentials and favorites. These are all things I own and use!
The Basic Process, Step by Step
- Wash your jars in hot, soapy water and keep them warm until you’re ready to fill them — a sudden temperature change can crack glass.
- Prepare your food according to a tested recipe. This isn’t the place to freestyle; proportions of acid and sugar matter for safety, not just flavor.
- Fill your jars, leaving the headspace your recipe calls for (usually ¼ to ½ inch).
- Wipe the rims clean, then add lids and bands, tightened to “fingertip tight” — snug, not white-knuckled.
- Process in boiling water for the time your recipe specifies, adjusted for your altitude.
- Remove and cool on a towel, undisturbed, for 12-24 hours. You’ll hear the lids ping as they seal — one of the most satisfying sounds in homemaking.
- Check your seals the next day. The lid shouldn’t flex when you press the center. Anything that didn’t seal goes in the fridge to eat first.
Related: If you haven’t started a seasonal pantry rhythm yet, our [Meal Planning + Meal Prep] resources are a good place to build the habit around what you’re putting up.
A Few Honest Words of Caution
I’m not going to pretend canning has zero risk, because it doesn’t — and not in a good way if you skip steps to save time. Always use tested, current recipes from a reliable source. Recipes get updated as food safety research changes, so that jam recipe from your grandmother’s handwritten card might need a modern acid check before you trust it with your family’s health. This book is a great resource for all your canning and preserving questions.
When in doubt, don’t guess. There’s no shame in looking it up — the NCHFP recipe database and the Ball recipe library are both good places to double-check before you commit a batch to the water bath.
Common First-Timer Mistakes
Almost every canning mishap traces back to one of these. Worth reading through once before your first batch:
- Skipping the altitude adjustment. If you live above 1,000 feet (and much of the country does), your processing time needs to go up. It’s an easy step to forget and an easy one to just build into your routine.
- Reusing lids. Bands can be reused, jars can be reused, but the flat metal lids are one-time use — the sealing compound only works once.
- Using table salt instead of canning salt. Table salt has anti-caking additives that can cloud your brine. It won’t make the food unsafe, but it will make your pickles look cloudy and a little sad.
- Cooling jars too fast. Setting hot jars on a cold counter, near a drafty window, or under a fan can crack the glass or cause a false seal. Let them cool undisturbed, out of the draft.
- Adjusting the acid or sugar “to taste.” Reducing the lemon juice in a tomato recipe or the vinegar in a pickle recipe because it’s “too tangy” changes the safety of the final product, not just the flavor.
- Canning in a crowded kitchen with no clear headspace tool. Skipping the headspace measurement and eyeballing it is one of the most common causes of seal failure.
Storing Your Canned Goods (And Knowing When Something’s Gone Wrong)
Once your jars are sealed and cooled, store them in a cool, dark spot — a pantry shelf out of direct sunlight is ideal, somewhere between 50-70°F. Skip storing jars near the stove, above the fridge, or anywhere temperatures swing wildly; heat is the enemy of shelf life. Leave the bands off once jars are fully cooled and sealed, so you can easily see if a seal fails later.
For best quality, plan to use most home-canned food within about a year. It doesn’t necessarily go dangerous after that, but the flavor, color, and texture start to fade.
Before you ever eat from a jar — even one that’s been sitting a while — look it over:
- The lid should still be sealed (concave, no give when you press the center). If it flexes or pops, don’t eat it.
- The liquid should look clear, not cloudy or fizzy.
- There shouldn’t be any spurting when you open the jar, any off or “wrong” smell, or any sign of mold.
If anything gives you pause, the rule is simple: when in doubt, throw it out. It’s never worth the risk over one jar of jam.
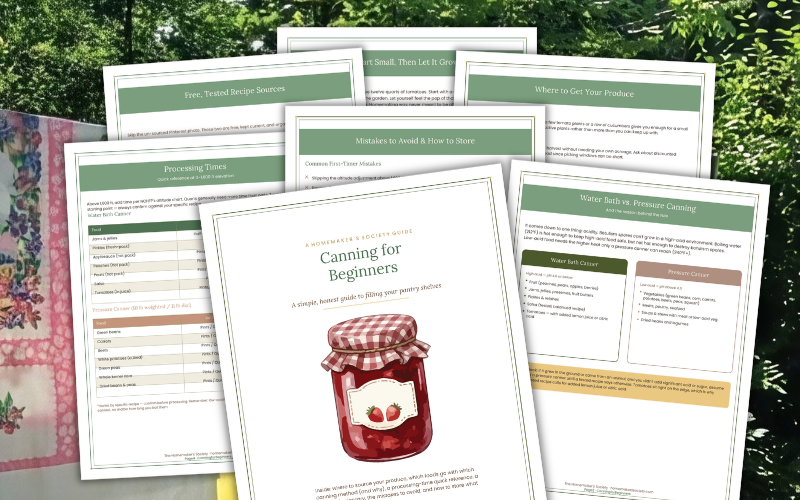
Be sure to download my free Canning Guide for Beginners at the bottom of the post!
Start Small, Then Let It Grow
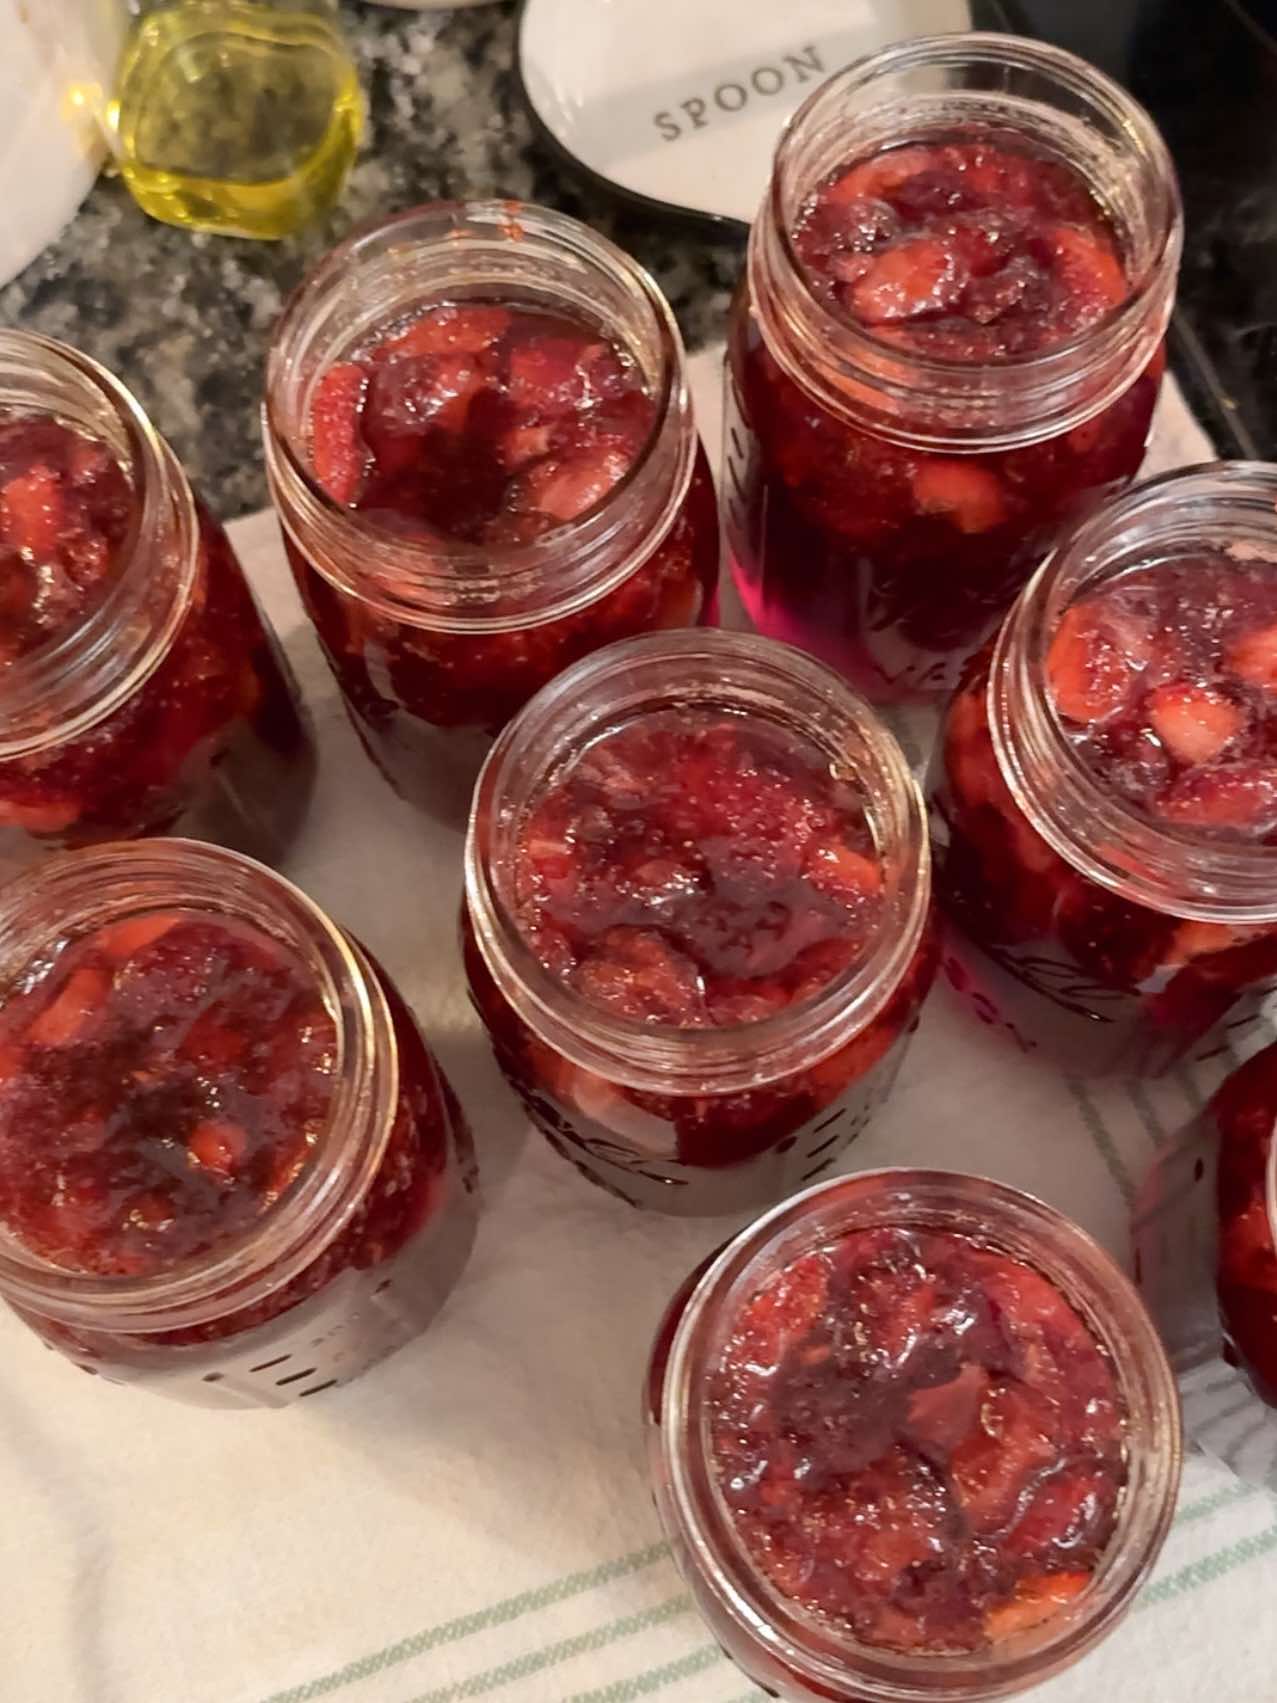
Your first batch doesn’t need to be twelve quarts of tomatoes. Start with a single batch of jam, or a few jars of pickled cucumbers from the garden. Let yourself feel the pop of that first seal before you decide whether this becomes a September tradition.
Homemaking was never meant to be all-or-nothing. It’s one skill at a time, one full pantry shelf at a time.
Become a Member to get our full library of seasonal recipes, printable canning logs, and pantry planning tools inside The Homemaker’s Society.
Action Steps to Take Today
- Pick one high-acid recipe (jam or pickles are the easiest starting point) and read through it fully before you shop for ingredients.
- Check your kitchen for the five basic tools listed above — borrow what you don’t have before buying.
- Set aside a single afternoon this week, start to finish, for your first batch.
- Write the date on your jar lid when it’s done — it becomes a small, sweet record of the season.
- Before you ever open and eat a jar, run through the seal, look, and smell check — make it a habit from batch one.
- Share a photo of your first jars in the free Ministry of Homemaking group — we’d love to cheer you on.
Free Printable Canning Guide for Beginners
Everything you need to can your first batch with confidence — where to source your produce, which foods need a water bath versus a pressure canner (and why), a processing-times quick reference, a beginner’s glossary, the mistakes to avoid, and how to store what you make. No fluff, just what you need taped inside your pantry door.
How to Download
Fill out the form below, and you’ll be sent the Canning Guide for Beginners straight to your inbox.
If you’re not a member yet, you can join The Homemaker’s Society and get instant access to this printable plus hundreds of other resources for your home.
Not ready to join yet? Just fill out the form below, and the notebook will be sent straight to your inbox. Or, if you prefer, you can purchase the printable notebook here.